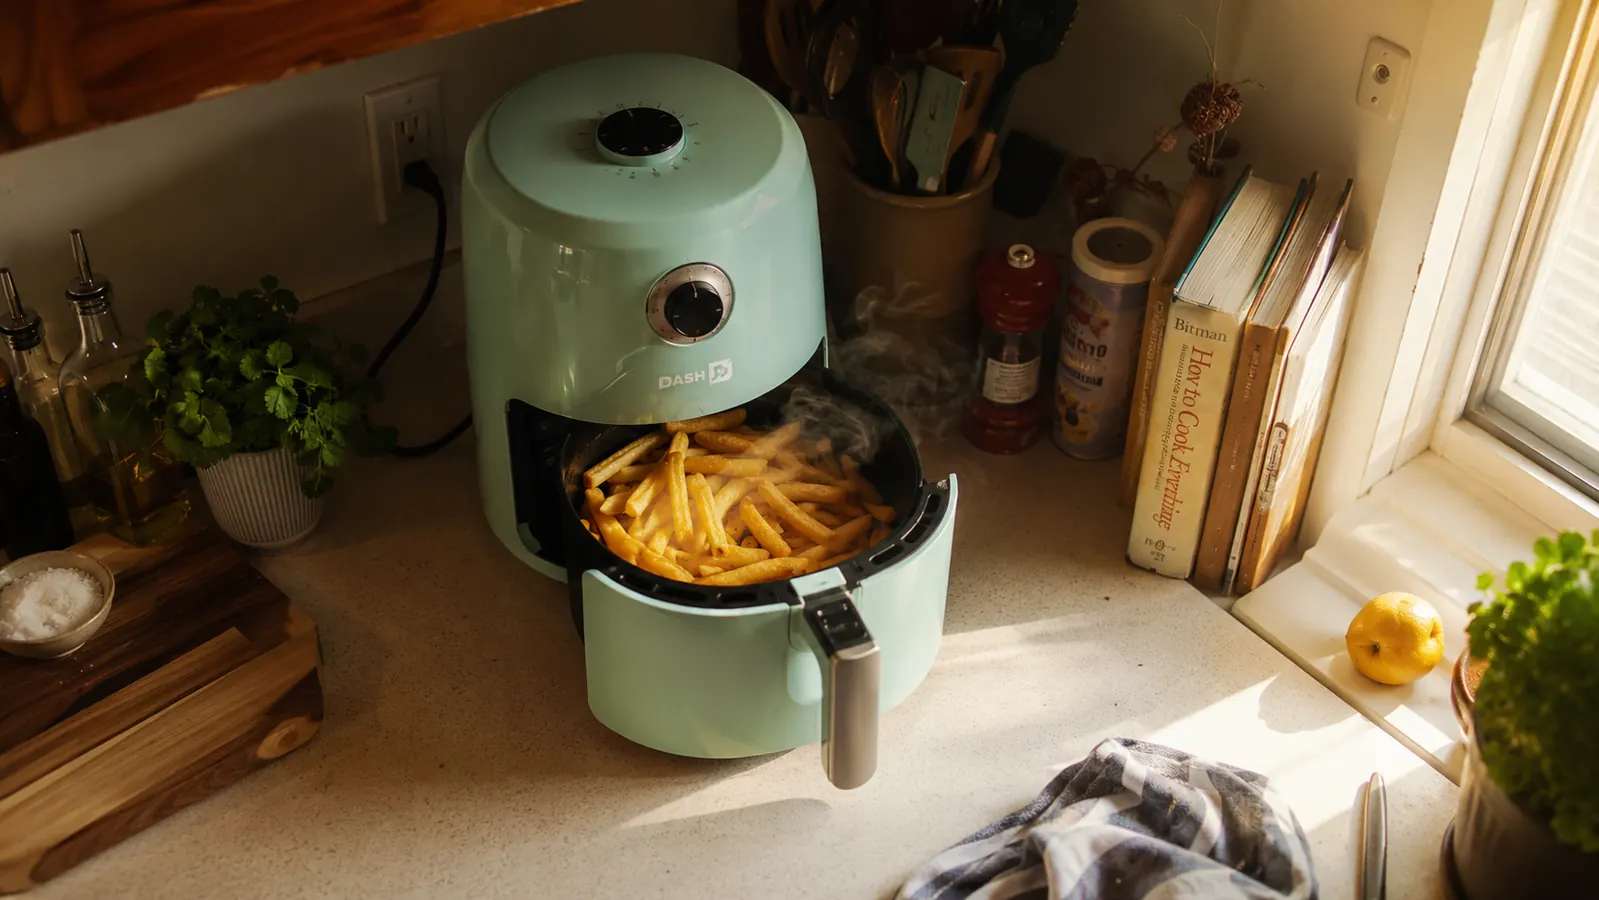
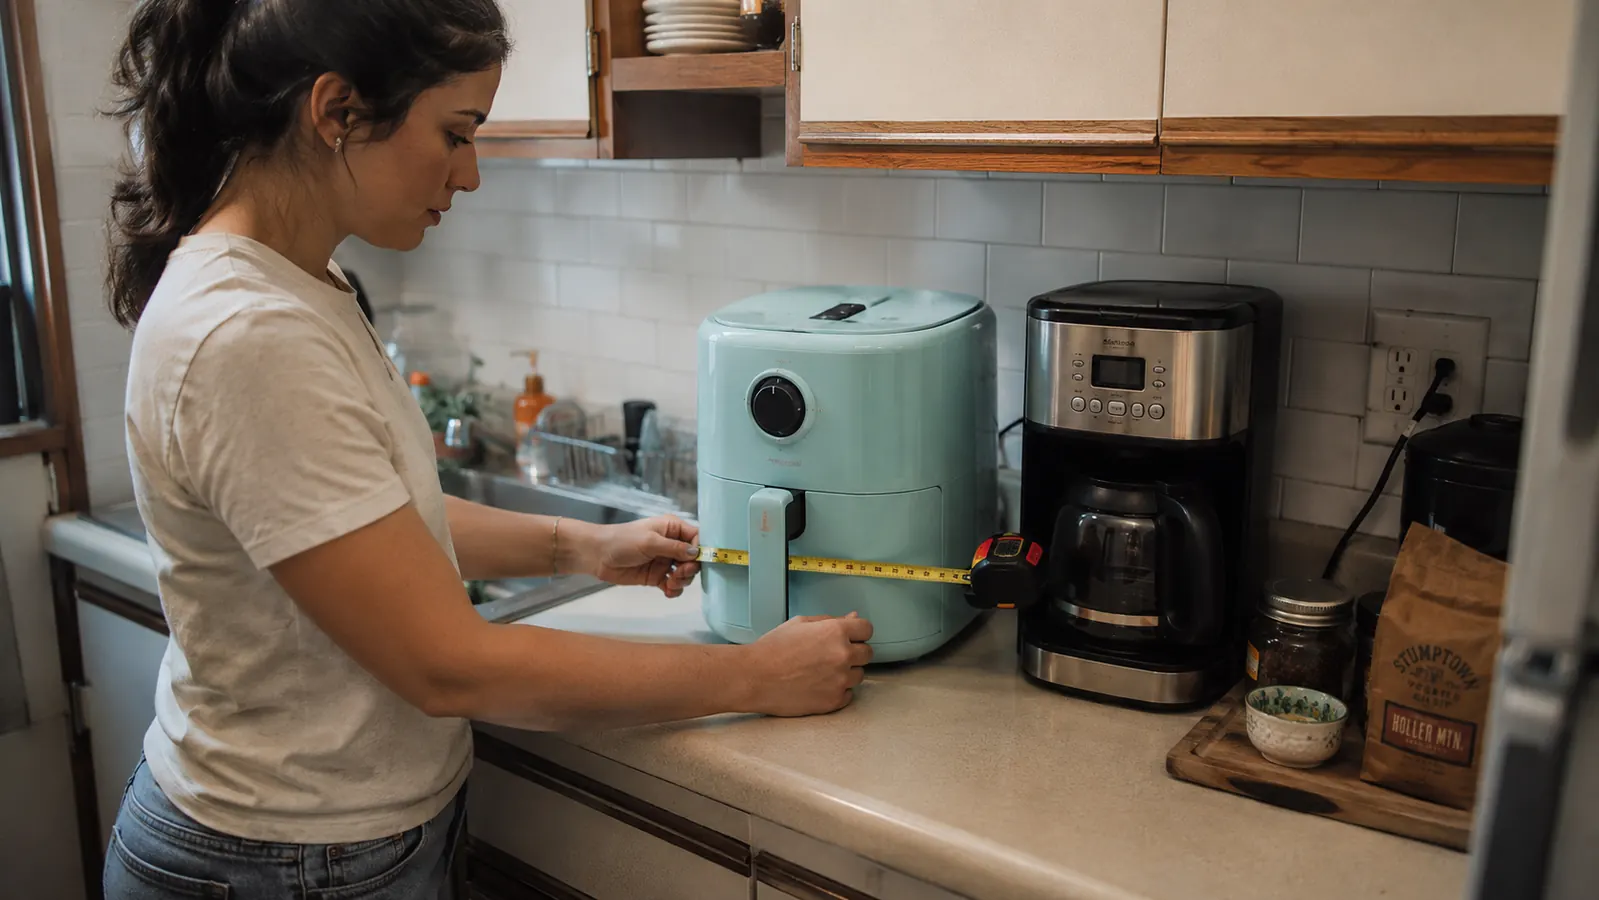
My kitchen has one run of counter, fourteen inches between the coffee maker and the edge of the sink, and I have made peace with the fact that it will never be more than that. So when I tell you the DASH Tasti-Crisp is the only appliance on that counter that earns its spot every single week, that's not a review talking. That's just what happens when you cook fries in it twice in one weekend and your kid asks why you haven't ordered fries from anywhere in a month.
This is the actual method I use, not a rough idea of one. Cut size, oil amount, basket load, shake timing, the works. I've made these fries maybe forty times in the 2.6-quart DASH since I got it, burned a batch or two figuring out the wrong things, and landed on a process that gets crisp, evenly browned fries out of a fryer that's genuinely small. If your kitchen looks anything like mine, this is written for you.
I want to be upfront about one thing before you get to the steps. A 2.6-quart basket is not a full-size oven, and no amount of technique makes it behave like one. This guide is built around that limitation instead of pretending it doesn't exist, which is why the batches here are smaller than what you'd see in a listicle written by someone who's never actually owned a compact fryer.
The fryer this whole method is built around
Everything below assumes the Dash Tasti-Crisp's 2.6-quart basket. If you're shopping for one, check today's price before you start cutting potatoes, it's the cheapest part of the process.
Amazon Check Today's Price on Amazon →Step 1: Cut the potatoes to the right thickness (and dry them longer than you think)
I use two russets for two people, cut into fries about a third of an inch thick. Thinner than that and they go from crisp to burnt in the last two minutes without warning, which I learned the hard way on a Tuesday when I was scrolling my phone instead of watching the timer. Thicker than half an inch and the outside crisps before the inside is done, so you end up with a fry that's crunchy on the surface and raw in the middle, which nobody wants.
After cutting, I soak the fries in a bowl of cold water for at least twenty minutes. This pulls out surface starch, which is the single biggest reason home fries turn soggy instead of crisp. Then I dry them, really dry them, with a clean kitchen towel until there's no visible water left on the surface. Wet fries in a hot basket create steam, and steam is the enemy of crisp. I skipped this step the first three times I made fries in the DASH and every batch came out limp on the inside no matter how long I cooked them.
If you're short on time, ten minutes of soaking still helps. But the drying step is not optional. I keep a dedicated towel just for this now because I got tired of using the good dish towels and having them smell like potato. If I'm in a real hurry, I'll spread the cut fries on the towel, roll it up loosely, and press down along the length of it once, which pulls a surprising amount of water out in one pass.
Step 2: Toss with oil, not drown them in it
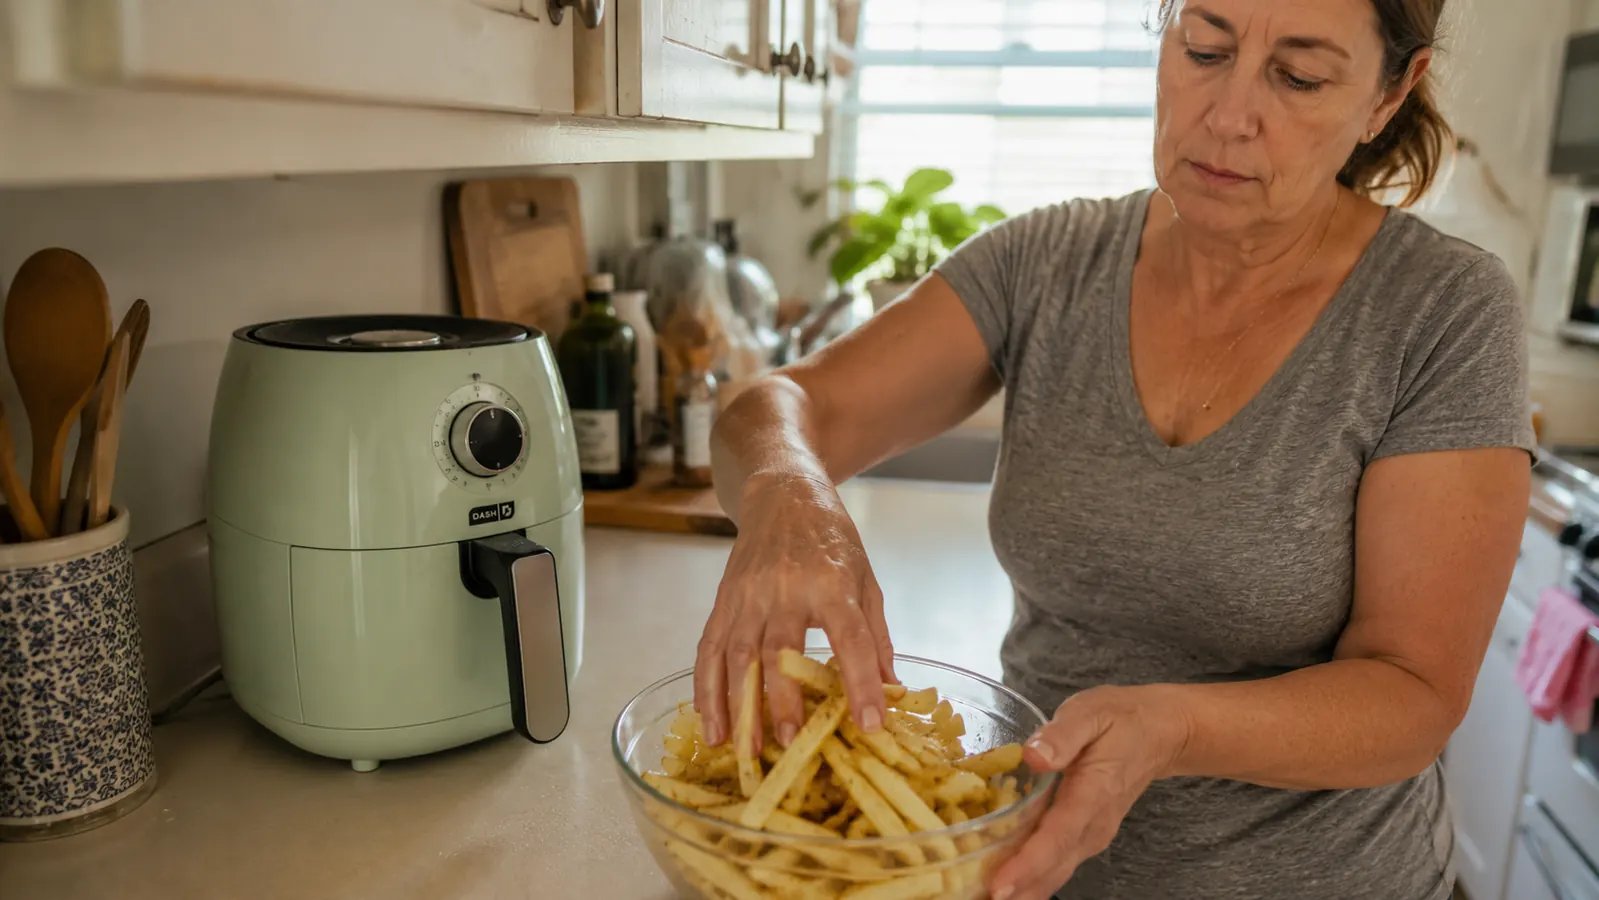
One tablespoon of oil for two medium russets is what I use, tossed in a small glass bowl until every fry has a thin, even coating. Not pooled at the bottom, not dripping, just coated. I use avocado oil because it has a higher smoke point than olive oil and I've never had it set off my smoke detector, which is mounted directly above my stove because that's where the builder put it and nobody asked me.
Salt goes on now too, before the basket, not after. A half teaspoon worked into the fries while they're still oily means the seasoning actually sticks instead of sliding off a dry, crisp surface later. I add a pinch of garlic powder and smoked paprika at this stage as well, but that's a personal habit more than a rule.
If you skip the oil entirely thinking it'll be healthier, don't. A little oil is what actually carries the heat into the surface of the potato and gives you that shattering crust. Without it, the fries dry out and toughen instead of crisping, which is a different result from what you're going for and not a good trade.
Step 3: Load the basket in a single layer, and load it in batches if you have to
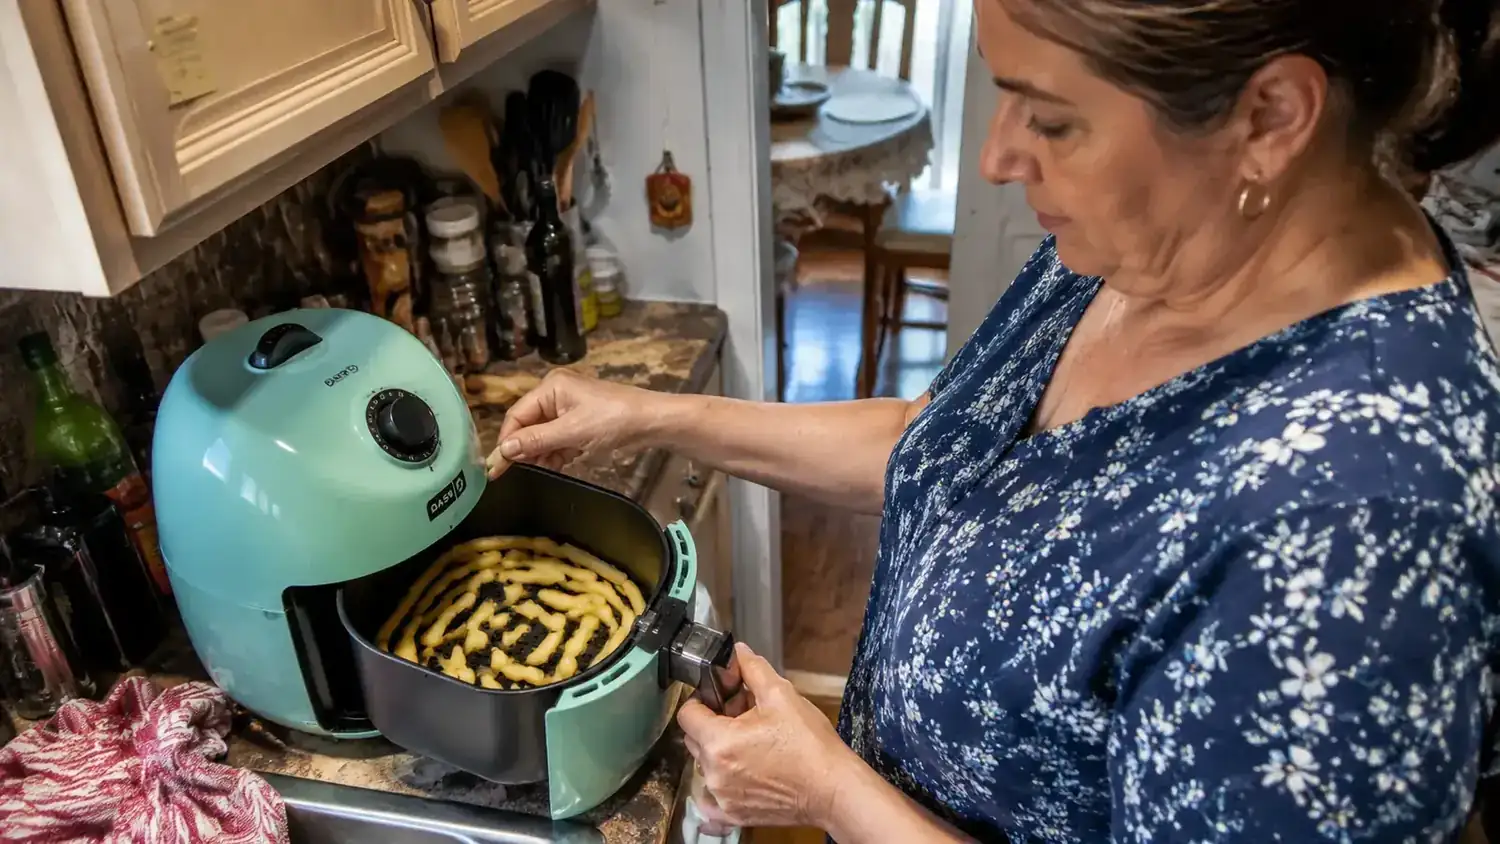
This is where the small basket actually matters, and where most people with a compact unit go wrong. The Dash Tasti-Crisp's basket is 2.6 quarts, which comfortably fits one medium russet's worth of fries in a single layer with a little breathing room between pieces. Two russets cut into fries is genuinely a two-batch job in this unit if you want them evenly crisp on every side.
I know that feels like a compromise when you're used to a full sheet pan in a big oven, but overloading the basket is the number one reason people tell me their air fryer fries came out soggy. When fries overlap or stack, the hot air can't circulate around each piece, so the ones on the bottom steam instead of crisp. I'd rather run two eight-minute batches back to back than one long batch of mediocre fries. The first batch stays warm in a low oven or just tented with foil while the second one cooks, and honestly the whole thing still takes less time than preheating a full-size oven.
One thing that took me a while to accept: the small basket is also the reason this fryer fits on my counter at all. A unit with a basket big enough to fry a whole bag of potatoes in one go would be too wide to sit next to my coffee maker, and I'd be lifting it down from a shelf every time I wanted fries, which in practice means I'd stop making them. I'll trade a second batch for not having to do that.
Step 4: Cook at 380°F, and shake the basket twice
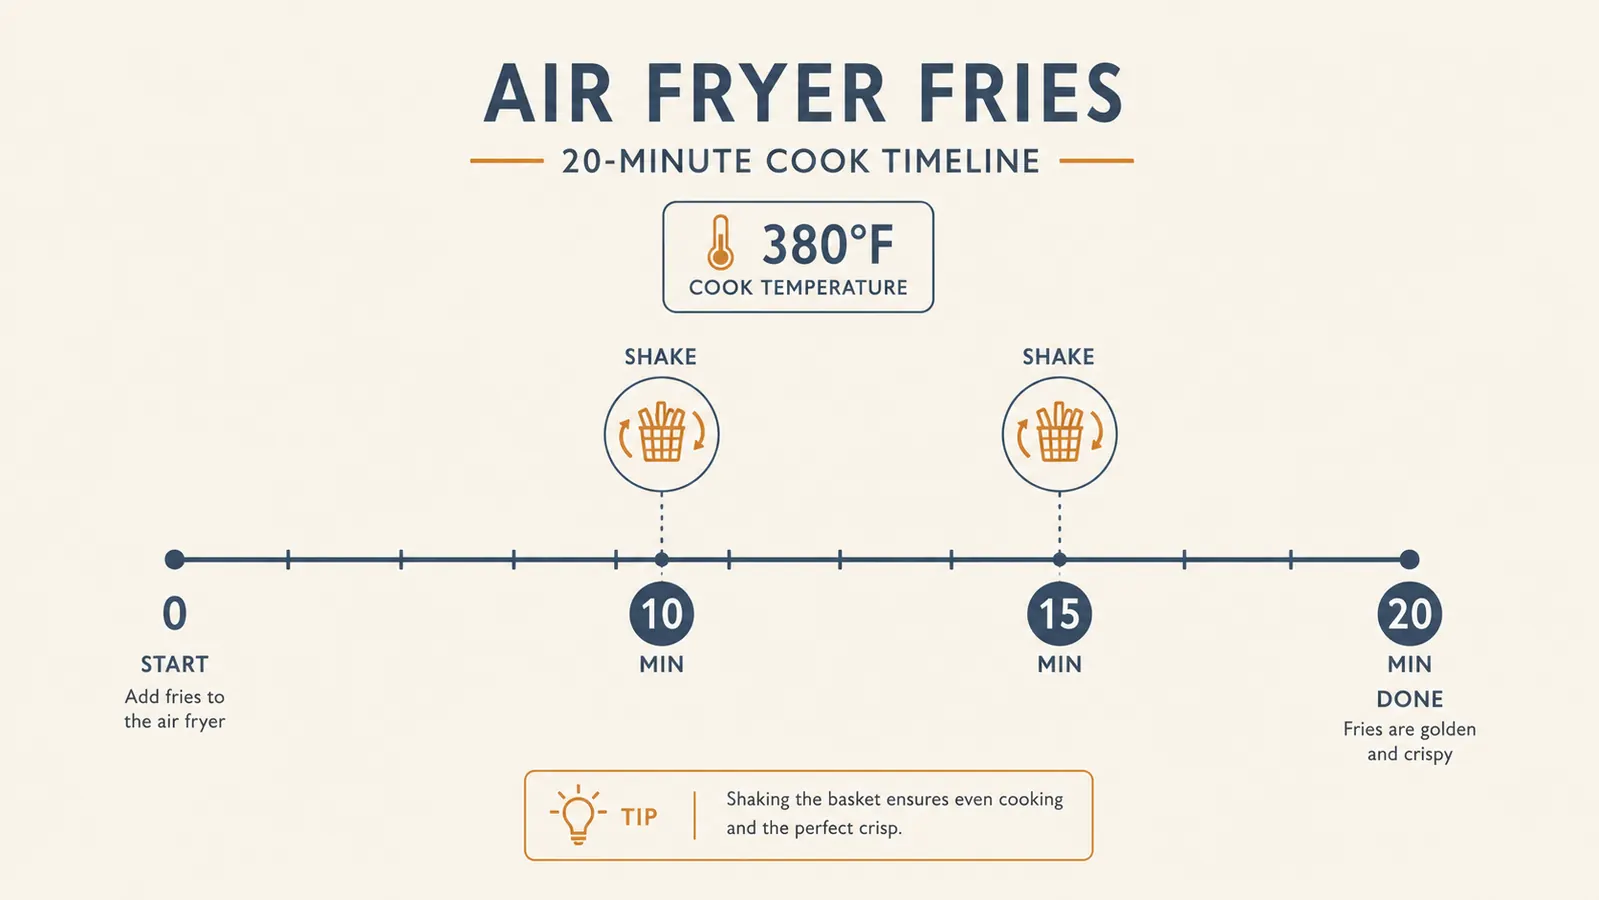
I run the DASH at 380°F for about 18 to 20 minutes total, and I pull the basket out to shake it at the 10-minute mark and again around 15 minutes. The shake matters more than the exact minute you do it. Because the fries can't be stirred with a spatula in a basket this size without making a mess, shaking the whole basket redistributes them so no single fry sits against the hot surface the entire cook.
Around the 15-minute mark I start checking color through the little viewing window on top, and I pull individual fries out to test doneness rather than guessing by the clock. Every batch of potatoes is a little different depending on how starchy they are and how thick I actually cut them versus how thick I meant to cut them. I've never made a batch that took less than 16 minutes or more than 22, so I treat 18 as a starting point, not a rule.
The compact basket heats up fast, which is one of the real advantages of a small unit. There's less air to heat and less distance from the heating element to the food, so I'm not standing around for a ten-minute preheat like I would with a full-size oven. That part alone is why this fryer got a permanent spot on my counter instead of a spot in the cupboard under the stairs where the panini press went to die.
I don't bother preheating the Dash for fries specifically. The first minute or two of the cycle acts as its own warm-up, and I've never noticed a difference in the final crisp between a preheated run and a cold start. That's one more step I don't have to think about on a weeknight.
If your fries come out unevenly browned, that's almost always an uneven cut or an overloaded basket, not a fryer problem. I used to blame the Dash for splotchy batches until I started actually measuring my cuts with a ruler for a week. Once my fries were within a sixteenth of an inch of each other, the browning evened out on its own. It's a boring fix, but it's the real one.
Step 5: Season again right out of the basket, then let them sit for two minutes
The fries will look done a minute or two before they actually crisp up fully, because they keep firming as they cool slightly out of the hot air. I dump them straight from the basket into a bowl, hit them with one more light pinch of salt while they're still hot enough for it to stick, and let them sit uncovered for about two minutes before serving. Covering them traps steam and softens the outside you just worked to crisp up, so resist the urge to put a lid or foil over them.
That's the whole method. Cut, soak, dry, oil, salt, single layer, 380°F for 18 to 20 minutes with two shakes, season again, rest two minutes. It reads like more steps than it is. Once you've done it twice, it's a fifteen-second setup and a walk-away cook, and the actual hands-on time is closer to five minutes spread across a twenty-minute stretch where you're doing something else in the kitchen anyway.
What Else Helps
A cheap oil mister makes the tossing step faster and more even than pouring from a bottle, and it uses less oil overall, which matters if you're watching that. I also keep a small metal colander in the same cabinet as the fryer, since draining the soaked fries and then drying them right in the colander saves a dish. Beyond that, don't overthink accessories. The basket itself, the built-in nonstick coating, and a kitchen towel are really all you need. I tried a silicone liner once because I read it made cleanup easier, and it just blocked airflow and gave me soft fries, so that one went in a drawer.
Frozen fries follow the same basic steps but skip the soak and dry entirely. I toss them straight from the freezer with a light spritz of oil, since most bags already carry a coating of their own and too much extra oil can make them greasy instead of crisp. I still load a single layer and still shake twice, but I usually only need 14 to 16 minutes since the bag has already gone through a partial fry at the factory.
For cleanup, I let the basket cool for a few minutes, then wash it with warm soapy water and a soft sponge. It's small enough to fit in my kitchen sink without balancing it sideways, which was a real problem with a bulkier fryer I owned before this one. No basket means no cleanup, and no cleanup is a bigger reason I actually make fries on a Tuesday than any recipe trick.
I'd rather run two eight-minute batches on a fourteen-inch counter than pretend a small basket can do a full sheet pan's job in one shot.
If your counter looks like mine, this is the fryer to check
It's the one appliance in my kitchen that never made it back to the cupboard. See today's price and current availability before you plan your next fry night.
Amazon Check Today's Price on Amazon →